How to Build a CI/CD Pipeline in Azure DevOps: A Step-by-Step Guide for OpsNexa
Building an efficient CI/CD pipeline is an essential part of modern software development. Azure DevOps offers a powerful suite of tools for automating the build, test, and deployment phases of your software lifecycle. By using Azure DevOps, OpsNexa can create a streamlined pipeline that accelerates releases, improves code quality, and ensures that your software is delivered consistently and reliably.
In this guide, we’ll walk you through the process of building a CI/CD pipeline in Azure DevOps. Whether you’re new to Azure DevOps or looking to optimize your pipeline, this tutorial will help you automate your software delivery process effectively.
What is CI/CD and Why is it Important?
Continuous Integration (CI) and Continuous Delivery (CD) are key practices in modern software development. CI involves automatically merging code changes from multiple contributors into a shared codebase, while CD ensures that code changes are automatically deployed to production (or staging) once they pass automated tests.
Implementing a CI/CD pipeline in Azure DevOps provides several benefits for organizations like OpsNexa:
-
Faster Time to Market: Automating the entire workflow from code commit to deployment ensures faster releases and quick feedback.
-
Reliability: By automating testing and deployment, you minimize the risk of human error and ensure that only high-quality code reaches production.
-
Scalability: Azure DevOps provides flexible and scalable pipelines, making it easy to adapt to growing project needs.
-
Improved Collaboration: Teams can collaborate more effectively by integrating code into a central repository and streamlining the testing and deployment processes.
Key Azure DevOps Services for CI/CD
Azure DevOps provides a comprehensive set of services to support CI/CD pipeline automation. Some of the key services that you’ll use in your pipeline include:
-
Azure Repos: A source control service where your code resides.
-
Azure Pipelines: The tool that automates your build, test, and deployment processes.
-
Azure Artifacts: A service for storing and managing packages, dependencies, and artifacts.
-
Azure Test Plans: A set of tools for manual testing and test case management.
-
Azure Boards: A project management service that integrates seamlessly with your pipelines.
Azure Pipelines is the central tool that integrates these services to automate your CI/CD pipeline.
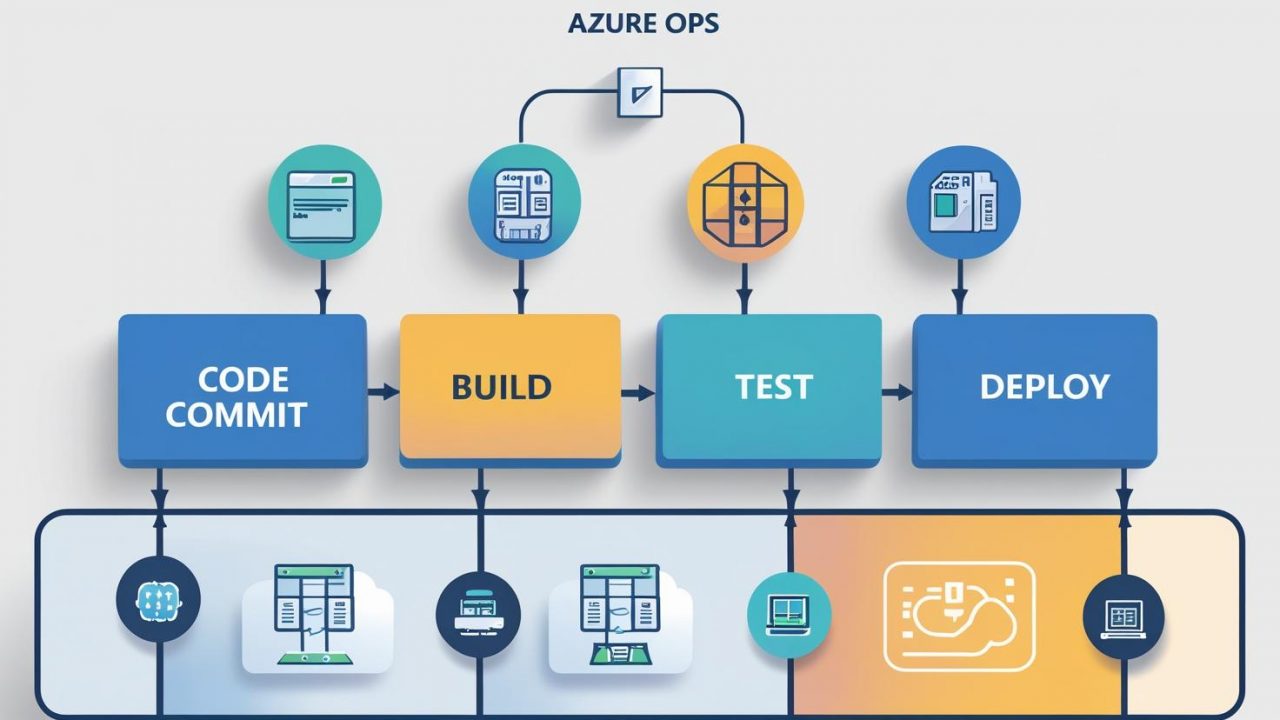
Steps to Build a CI/CD Pipeline in Azure DevOps
Step 1: Set Up Your Azure DevOps Project
Before you begin building your CI/CD pipeline, you need to set up an Azure DevOps account and create a project.
-
Create an Azure DevOps Account:
-
If you don’t already have an account, go to Azure DevOps and sign up for a free account.
-
-
Create a New Project:
-
Once your account is set up, create a new project in Azure DevOps. This will be the repository for your code and pipeline.
-
Navigate to the Projects section and click on New Project.
-
Provide a name for the project, choose the visibility (public or private), and select the version control system (Git or Team Foundation Version Control).
-
-
Connect Your Repository:
-
If your code is hosted externally (e.g., GitHub or Bitbucket), connect Azure DevOps to your repository.
-
If you’re using Azure Repos, your repository will already be integrated.
-
Step 2: Set Up Azure Pipelines
Azure Pipelines provides the automation needed for continuous integration and continuous deployment. You can configure your pipeline either through the Azure DevOps portal or by using YAML files.
-
Create a New Pipeline:
-
Go to your Azure DevOps project, and navigate to Pipelines.
-
Click on Create Pipeline and choose where your source code is stored (e.g., Azure Repos, GitHub, etc.).
-
Follow the prompts to select the repository and the type of pipeline. For example, you can choose the YAML pipeline if you prefer to define your pipeline as code.
-
-
Configure the Pipeline YAML File:
If you choose to use a YAML file, the file will define the build and release steps in your pipeline. Here’s a basic example of a YAML file for a Node.js application:
-
trigger: Specifies the branch that triggers the pipeline. In this case, it triggers on the
mainbranch. -
pool: Defines the build agent that will run the pipeline (in this case, an Ubuntu virtual machine).
-
steps: The individual tasks that will run during the pipeline. In this case, installing Node.js, installing dependencies, building the app, and running tests.
-
Run the Pipeline:
-
Once your YAML file is set up, commit it to your repository. Azure DevOps will automatically detect changes and trigger the pipeline.
-
You can monitor the status and logs of the pipeline from the Pipelines section in Azure DevOps.
-
Step 3: Set Up Continuous Deployment
Once your CI pipeline is set up, it’s time to automate the deployment process using Azure Pipelines.
-
Configure Deployment Stages:
You can set up deployment stages for different environments (e.g., staging, production). This can be done either through YAML or using the Azure DevOps UI.Here’s an example of how to add a deployment stage for a staging environment:
-
Connect to Deployment Targets:
-
Azure Pipelines supports deploying to various targets, such as Azure Web Apps, Azure Kubernetes Service (AKS), Azure Virtual Machines (VMs), or Azure Functions.
-
Add the appropriate tasks to deploy your application to these environments.
-
-
Set Up Continuous Deployment Triggers:
-
You can set deployment triggers to automatically deploy your app when a build completes. You can also configure manual approval steps for deployments to production.
-
Step 4: Monitor and Optimize the Pipeline
After setting up your pipeline, it’s essential to monitor its performance and optimize it over time.
-
Monitor Pipeline Health:
-
Azure DevOps provides detailed logs and reports for each step of your pipeline, helping you identify bottlenecks and failures.
-
Set up alerts to notify your team if a build or deployment fails.
-
-
Optimize Pipeline Performance:
-
Caching: Azure Pipelines supports caching dependencies and other build artifacts to reduce build time.
-
Parallel Jobs: Run tests in parallel to speed up the testing phase.
-
Incremental Builds: Use incremental builds to reduce build times by only building parts of the application that have changed.
-
-
Secure the Pipeline:
-
Use Azure Key Vault to manage sensitive data such as API keys, passwords, and certificates.
-
Apply appropriate Azure DevOps security policies to control who can access and modify your pipelines.
-
Best Practices for CI/CD in Azure DevOps
-
Use Infrastructure as Code (IaC): Define and manage infrastructure using Azure Resource Manager (ARM) templates or Terraform.
-
Automate Tests: Integrate unit tests, integration tests, and UI tests to ensure high-quality code is deployed.
-
Use Approvals for Critical Deployments: Set up manual approval steps for production deployments to reduce the risk of errors.
-
Monitor the Pipeline: Continuously monitor pipeline performance and make improvements based on feedback.
Conclusion
Building a CI/CD pipeline in Azure DevOps allows OpsNexa to automate the process of building, testing, and deploying software, improving collaboration, code quality, and delivery speed. With Azure DevOps’ powerful tools like Pipelines, Repos, and Azure Web Apps, you can create a seamless, reliable pipeline tailored to your project’s needs.
By following the steps outlined in this guide, you can ensure that your development process is automated, scalable, and secure—helping your team move faster and deliver software with greater confidence.
You can also Contact OpsNexa for Devops architect and devops hiring solutions.
