How to Deploy Nutanix Kubernetes Management in Prism Central: A Step-by-Step Guide for OpsNexa
As containerization continues to dominate the tech landscape, managing Kubernetes clusters efficiently is essential for organizations like OpsNexa to streamline application deployment, scaling, and maintenance. Nutanix offers a comprehensive solution for managing Kubernetes through Prism Central, making it easier for teams to handle the complexities of Kubernetes orchestration.
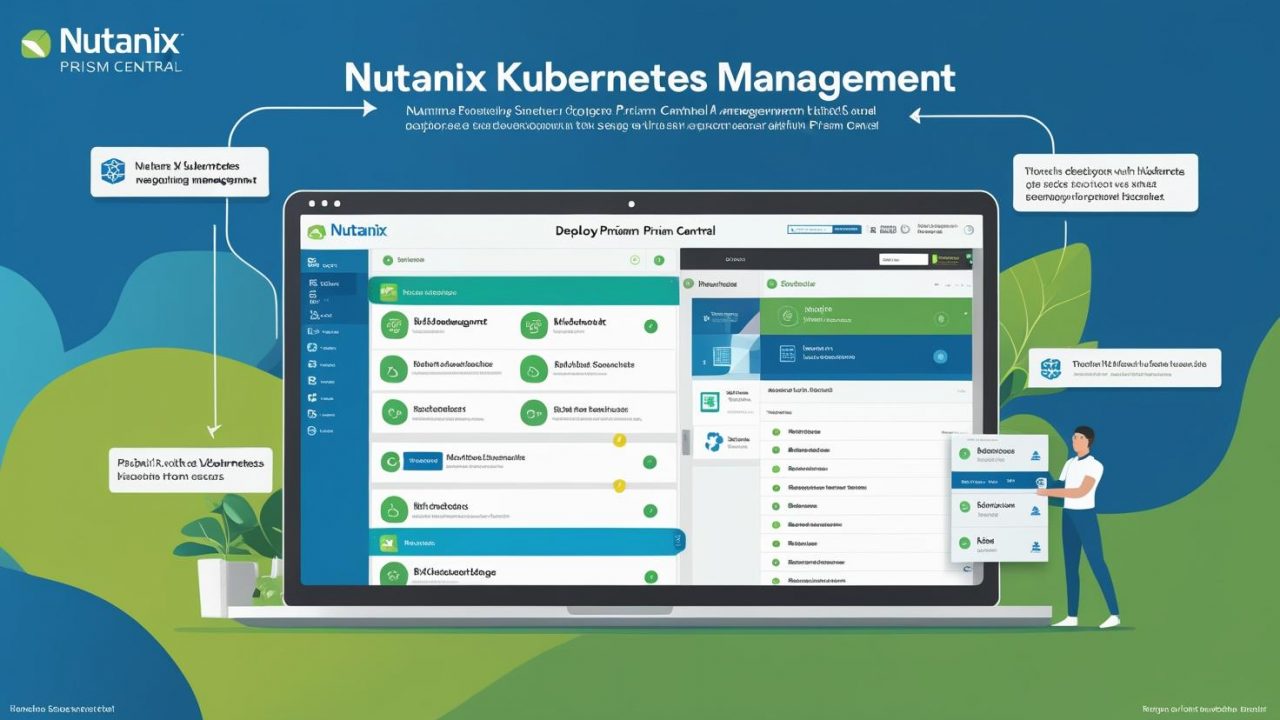
In this guide, we will walk you through the steps involved in deploying Nutanix Kubernetes Management in Prism Central, providing OpsNexa with a reliable platform for managing Kubernetes clusters at scale.
What is Nutanix Kubernetes Management?
Nutanix Kubernetes Management in Prism Central simplifies the deployment, monitoring, and management of Kubernetes clusters across various environments. It provides a unified platform to manage both traditional and cloud-native applications. Prism Central is Nutanix’s centralized management console that integrates with your infrastructure to provide a seamless experience for Kubernetes cluster orchestration, scaling, monitoring, and more.
By using Prism Central, OpsNexa can deploy Kubernetes clusters with ease, monitor their health, manage storage, and scale applications across multiple environments—all from a single interface.
Prerequisites for Deploying Nutanix Kubernetes Management in Prism Central
Before deploying Nutanix Kubernetes Management, make sure you have the following prerequisites in place:
-
Nutanix AOS Cluster: Nutanix Kubernetes Management requires Nutanix’s Acropolis Operating System (AOS) to function. Ensure that your Nutanix infrastructure is running AOS and that Prism Central is already set up.
-
Kubernetes Infrastructure: You need an environment where Kubernetes can run, whether it’s Nutanix’s Karbon platform or an external Kubernetes environment that you plan to integrate with Prism Central.
-
Prism Central Access: Ensure you have the necessary administrator access to Prism Central and a working connection to your Nutanix infrastructure.
-
Nutanix Karbon: Nutanix Karbon is the enterprise-grade Kubernetes management solution offered by Nutanix. It’s integrated with Prism Central and allows you to deploy and manage Kubernetes clusters seamlessly.
Steps to Deploy Nutanix Kubernetes Management in Prism Central
Here is a step-by-step process for deploying Nutanix Kubernetes Management in Prism Central.
1. Login to Prism Central
The first step in deploying Nutanix Kubernetes management is to log into Prism Central.
-
Open your browser and navigate to your Prism Central URL.
-
Enter your admin credentials to access the Prism Central dashboard.
Once logged in, you’ll be able to manage your Nutanix infrastructure and start deploying and managing Kubernetes clusters.
2. Install Nutanix Karbon
Nutanix Karbon is Nutanix’s enterprise-grade Kubernetes management solution. Karbon provides a streamlined way to deploy, manage, and monitor Kubernetes clusters in your Nutanix environment.
-
In Prism Central, go to the Kubernetes Management section.
-
Select Install Karbon if it’s not already installed. Karbon is an integrated platform that handles the provisioning and management of Kubernetes clusters.
-
Follow the prompts to complete the installation. This step usually involves configuring network settings, setting up the Kubernetes version, and defining default configurations.
3. Configure Storage for Kubernetes Clusters
Once Karbon is installed, the next step is to configure storage for the Kubernetes clusters you plan to deploy. Nutanix integrates tightly with Kubernetes and provides persistent storage solutions, which are essential for applications that require stateful storage.
-
From the Prism Central dashboard, go to Storage settings and select the storage options for your Kubernetes deployment.
-
Choose whether you’ll use Nutanix Volumes or Cloud-native storage options for persistent storage.
-
Configure storage resources based on your application’s needs.
4. Deploy a Kubernetes Cluster
Now that you have Karbon and the storage set up, you can begin deploying Kubernetes clusters.
-
In Prism Central, navigate to the Kubernetes section under the Karbon tab.
-
Click on Create Cluster to begin deploying a new Kubernetes cluster.
-
Provide the following information during cluster creation:
-
Cluster Name: Give your cluster a meaningful name for easy identification.
-
Kubernetes Version: Choose the Kubernetes version you want to use for the cluster. Nutanix allows you to select the version that best fits your application needs.
-
Cluster Resources: Define the resources (CPU, memory, storage) for the cluster based on your expected workloads.
-
Network Configuration: Set up the network settings, including the IP ranges, DNS, and other network parameters.
-
Once the configuration is complete, click Create to start the Kubernetes cluster deployment.
5. Configure Cluster Access
After the cluster is deployed, you’ll need to configure kubectl to access the Kubernetes cluster.
-
In Prism Central, find the kubectl access credentials for the newly deployed cluster.
-
Use these credentials to configure your local kubectl environment. This allows you to manage your Kubernetes cluster directly from your terminal or preferred IDE.
To do this, download the Kubeconfig file from Prism Central and run the following command to configure kubectl on your local machine:
This will allow you to interact with your Kubernetes cluster via kubectl commands.
6. Monitor and Manage the Cluster
Once your Kubernetes cluster is up and running, Prism Central offers a set of tools to manage and monitor your cluster’s performance:
-
Cluster Health: You can view the health of your Kubernetes cluster, including the status of Pods, nodes, and services.
-
Workload Monitoring: Prism Central provides integrated monitoring of your Kubernetes workloads. You can track resource usage, container performance, and other metrics.
-
Scaling: If your workload grows, you can scale your Kubernetes clusters up or down directly from Prism Central.
-
Upgrades and Maintenance: Prism Central allows you to upgrade your Kubernetes clusters and Karbon with minimal disruption to your workloads.
For OpsNexa, this means you can ensure that your Kubernetes environment is always optimized and up-to-date, without having to deal with complex manual processes.
Best Practices for Nutanix Kubernetes Management in Prism Central
To ensure a smooth experience with Nutanix Kubernetes Management, consider the following best practices:
-
Automate Scaling: Set up automatic scaling rules to ensure that your applications get the resources they need without manual intervention.
-
Monitor Resource Usage: Continuously monitor resource consumption (CPU, memory, and storage) to avoid performance bottlenecks and ensure optimal application performance.
-
Backup and Recovery: Regularly back up your Kubernetes clusters and data. Nutanix provides solutions for creating snapshots and disaster recovery.
-
Update and Patch: Regularly update your Kubernetes clusters and Karbon to take advantage of security patches and new features.
Conclusion: Simplifying Kubernetes Management with Nutanix Prism Central
Deploying Nutanix Kubernetes Management in Prism Central allows OpsNexa to manage Kubernetes clusters with ease and efficiency. By leveraging Nutanix’s integrated platform, OpsNexa can streamline the deployment, scaling, and monitoring of containerized applications, ensuring high availability and optimal performance.
From installing Karbon to configuring Kubernetes clusters and monitoring their health, Nutanix Prism Central simplifies the entire Kubernetes management lifecycle. With best practices and continuous monitoring, your Kubernetes infrastructure will be ready to handle workloads efficiently and securely.
By following this guide, OpsNexa can ensure that its Kubernetes clusters are deployed, optimized, and maintained seamlessly, enabling you to focus on building and scaling your applications with ease.
You can also Contact OpsNexa for Devops architect and devops hiring solutions.
