How to Build a CI/CD Pipeline in GitLab: A Step-by-Step Guide for OpsNexa
In today’s fast-paced software development landscape, Continuous Integration (CI) and Continuous Delivery (CD) are essential practices that help teams automate the process of integrating, testing, and deploying code. By automating these processes, teams can deliver software faster, with fewer errors, and with more reliability.
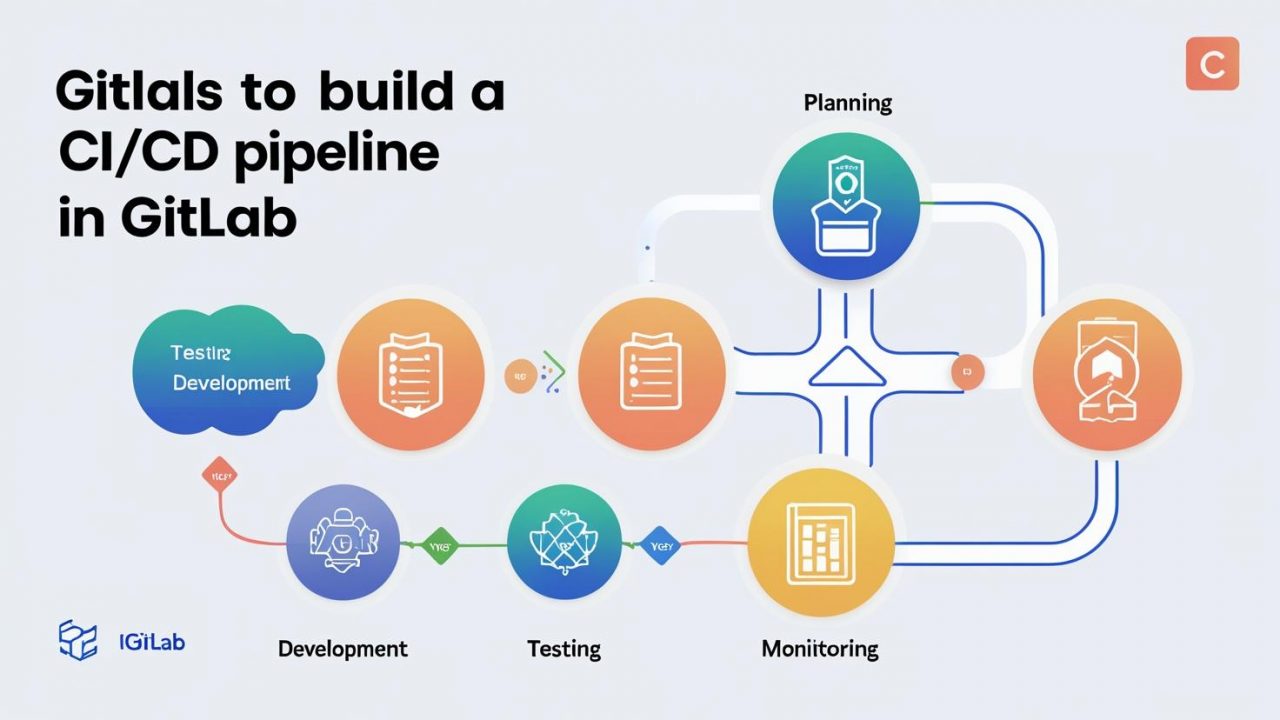
GitLab is one of the most popular DevOps platforms that provides an integrated set of tools for building CI/CD pipelines. If you’re part of OpsNexa and want to learn how to build a CI/CD pipeline in GitLab, this guide will walk you through the process step by step.
We’ll cover the essential aspects of GitLab CI/CD, including creating a .gitlab-ci.yml file, setting up stages for your pipeline, and deploying your code to various environments.
What is CI/CD and Why is it Important?
Before diving into the technical steps, let’s quickly review what CI/CD is and why it’s crucial for modern software development.
-
Continuous Integration (CI) involves automatically integrating code from multiple contributors into a shared repository, triggering an automated build and test process. This allows teams to detect integration issues early and ensures that new changes don’t break the existing codebase.
-
Continuous Delivery (CD) ensures that code changes are automatically delivered to production (or staging) once they pass testing, providing teams with fast feedback and faster releases.
Building a CI/CD pipeline in GitLab can significantly benefit your organization by:
-
Accelerating Software Delivery: Automation speeds up the time it takes to go from code commit to production deployment.
-
Improving Quality: Continuous testing ensures that code changes meet quality standards before they are deployed.
-
Reducing Human Error: Automation minimizes the chances of errors introduced by manual processes.
-
Enabling Continuous Improvement: Teams can deploy new features and fixes regularly, fostering a culture of continuous improvement.
Key GitLab Services for CI/CD
GitLab provides several integrated services for building and managing your CI/CD pipelines:
-
GitLab CI/CD: The toolset for automating builds, tests, and deployments.
-
GitLab Runner: The agent responsible for executing jobs in the CI/CD pipeline.
-
GitLab Repository: The Git-based version control system where your code is stored.
-
GitLab Pages: A static site hosting service for publishing web applications.
-
Kubernetes Integration: GitLab has built-in support for deploying applications to Kubernetes clusters.
In this guide, we’ll focus on using GitLab CI/CD and GitLab Runner to automate the process of building, testing, and deploying your application.
Steps to Build a CI/CD Pipeline in GitLab
Step 1: Set Up GitLab Repository
The first step in building your CI/CD pipeline is setting up a GitLab repository to store your application’s code.
-
Create a GitLab account:
-
If you don’t already have a GitLab account, go to GitLab and sign up for a free account.
-
-
Create a New Project:
-
Navigate to your GitLab dashboard and click on New Project.
-
Choose to create a blank project or import an existing repository from GitHub, Bitbucket, or another source.
-
Give your project a name and configure the settings according to your team’s needs.
-
-
Push Your Code:
-
If you have an existing project, push your code to the GitLab repository you just created. If this is a new project, create a basic application (e.g., a Node.js, Python, or Java project) and push it to the GitLab repository.
-
Step 2: Set Up GitLab CI/CD with .gitlab-ci.yml
The heart of any GitLab CI/CD pipeline is the .gitlab-ci.yml file. This YAML file defines the stages of your pipeline, the jobs within each stage, and the scripts that run during each job.
-
Create the
.gitlab-ci.ymlfile:-
In your GitLab project, create a
.gitlab-ci.ymlfile in the root directory of your repository.
-
Here’s an example of a simple .gitlab-ci.yml file for a Node.js application:
Explanation of the .gitlab-ci.yml file:
-
stages: Defines the sequence of stages in the pipeline. In this example, we have three stages:
build,test, anddeploy. -
variables: Defines environment variables that will be available throughout the pipeline.
-
before_script: Defines a set of commands that will be run before each job (in this case, installing npm dependencies).
-
jobs: Each job is associated with a specific stage and runs the commands defined in the
scriptsection.-
build: Runs the build process using
npm run build. -
test: Runs automated tests with
npm test. -
deploy: Deploys the application to the production environment (you can replace
npm run deploywith your actual deployment script).
-
-
Commit and Push
.gitlab-ci.yml:-
Commit the
.gitlab-ci.ymlfile to your GitLab repository. GitLab will automatically detect this file and trigger the pipeline whenever changes are pushed to the repository.
-
Step 3: Configure GitLab Runner
GitLab Runner is the agent that executes the jobs defined in your pipeline. By default, GitLab provides a shared runner for public repositories, but you can also set up your own custom runners for specific projects.
-
Set up GitLab Runner (if needed):
-
If you’re using a self-hosted runner, follow the GitLab Runner installation guide to install and register the runner on your system.
-
If you want to use the shared runners, no additional setup is required, as GitLab automatically uses shared runners for public repositories.
-
-
Verify Runner Status:
-
Once your runner is set up, go to your project in GitLab and navigate to Settings > CI / CD.
-
Check the Runners section to verify that a runner is available to execute your jobs.
-
Step 4: Monitor Your Pipeline
After pushing changes to your GitLab repository, the CI/CD pipeline will automatically trigger. You can monitor the progress of the pipeline through the GitLab UI:
-
View Pipeline Status:
-
Navigate to CI / CD > Pipelines in the GitLab project dashboard. You’ll see a list of pipeline runs with their status (e.g., running, passed, failed).
-
Click on a pipeline to view detailed logs and trace the execution of each job.
-
-
Review Job Logs:
-
If a job fails, you can click on the job to view its logs. This will help you identify what went wrong and make necessary fixes.
-
Step 5: Set Up Continuous Deployment (Optional)
To automate deployments, you can configure your pipeline to deploy the application to various environments (e.g., staging, production) whenever changes are made. Here’s how to set up continuous deployment:
-
Set Up Deployment Stages:
-
Add additional jobs to the
.gitlab-ci.ymlfile to deploy your application to specific environments. -
You can use built-in deployment features, such as Kubernetes, Docker, or cloud platforms like AWS or Azure, for deployments.
-
Here’s an example for deploying to a Kubernetes cluster:
This configuration will deploy to a staging environment when changes are pushed to the develop branch and to production when changes are pushed to the main branch.
Step 6: Secure Your Pipeline
To secure your pipeline and deployment process, you should manage secrets and credentials carefully. GitLab provides CI/CD variables that allow you to store sensitive information (such as API keys, passwords, etc.) securely.
-
Set Up CI/CD Variables:
-
Navigate to Settings > CI / CD and expand the Variables section.
-
Add your variables (e.g.,
AWS_ACCESS_KEY_ID,KUBERNETES_TOKEN) here. These variables will be available in your pipeline jobs.
-
Best Practices for GitLab CI/CD Pipelines
-
Use Environment-Specific Pipelines: Create separate pipelines for different environments (e.g., staging, production) to ensure smooth transitions between environments.
-
Use Caching: Cache dependencies and build artifacts to speed up pipeline execution times.
-
Write Modular Jobs: Break your pipeline into smaller, reusable jobs to keep the configuration clean and maintainable.
-
Monitor Pipelines: Set up notifications (e.g., email, Slack) to stay informed about pipeline failures or issues.
-
Ensure Security: Use GitLab’s built-in features to handle sensitive information securely (e.g., secrets, keys).
Conclusion
Building a CI/CD pipeline in GitLab allows OpsNexa to automate the integration, testing, and deployment of applications, improving efficiency and reliability. By using GitLab’s built-in features like GitLab Runner, CI/CD pipelines, and deployments, you can streamline your software development process and reduce errors.
By following the steps outlined in this guide, you can set up a fully automated CI/CD pipeline in GitLab, ensuring faster, safer, and more consistent software delivery.
You can also Contact OpsNexa for Devops architect and devops hiring solutions.
