How to Configure a CI/CD Pipeline in Jenkins: A Step-by-Step Guide for OpsNexa
In the world of modern software development, CI/CD (Continuous Integration and Continuous Delivery) pipelines are vital for automating the processes of building, testing, and deploying applications. One of the most widely used tools to set up and manage CI/CD pipelines is Jenkins, an open-source automation server.
For OpsNexa, configuring a CI/CD pipeline in Jenkins can significantly improve productivity by automating repetitive tasks, reducing human errors, and ensuring smoother deployments. This step-by-step guide will walk you through how to configure a CI/CD pipeline in Jenkins from start to finish.
What is Jenkins CI/CD Pipeline?
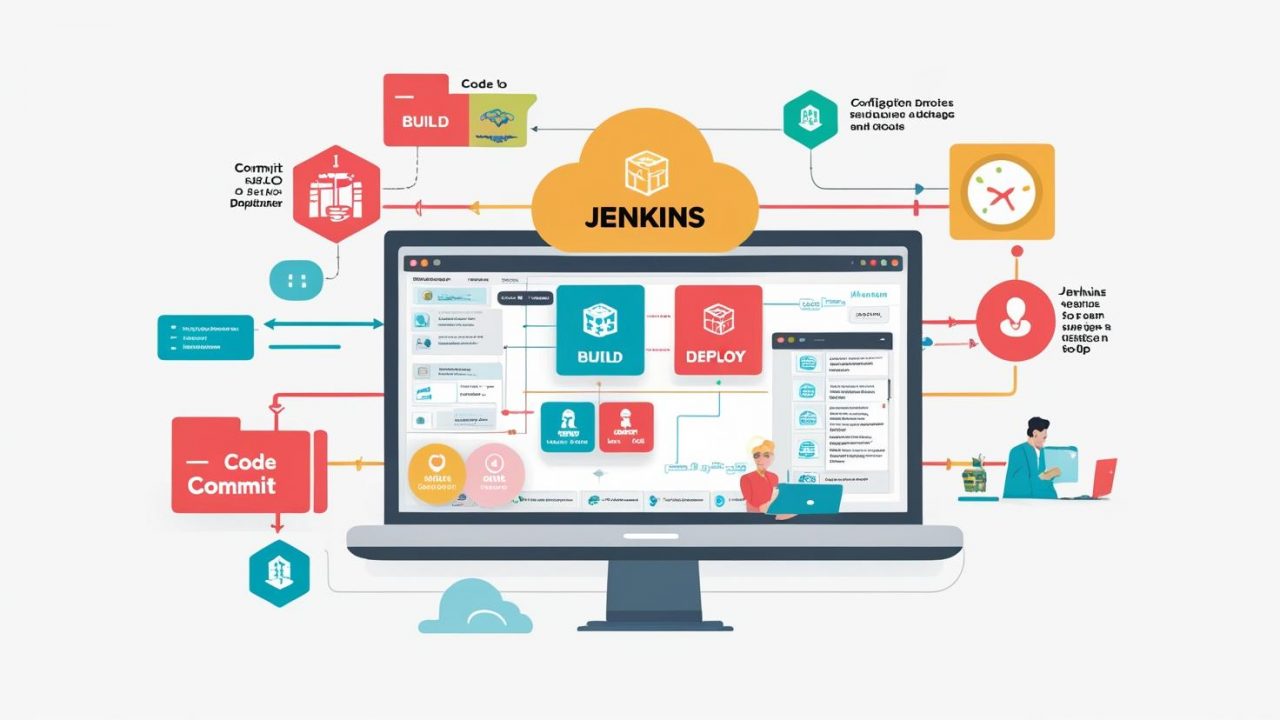
A CI/CD pipeline in Jenkins automates the entire process of software development, from code commit to production deployment. A typical pipeline consists of several stages:
-
Continuous Integration (CI): In this stage, Jenkins automatically integrates code changes from multiple contributors into a shared repository. Jenkins runs automated tests to ensure that code changes don’t break the build or introduce errors.
-
Continuous Delivery (CD): After successful integration and testing, the pipeline deploys the application to a staging or production environment. Jenkins automates the deployment process, ensuring faster and more reliable software releases.
Why Jenkins for CI/CD?
Jenkins is one of the most popular tools for CI/CD pipelines for several reasons:
-
Extensive Plugin Ecosystem: Jenkins supports over 1,500 plugins, which allows it to integrate with many tools used in DevOps pipelines.
-
Flexibility: Jenkins can be used for automating tasks such as builds, tests, deployment, and monitoring.
-
Scalability: Jenkins supports distributed builds, allowing you to scale your pipeline to handle large projects and teams.
-
Ease of Use: With its user-friendly interface, Jenkins makes it easy to configure and manage pipelines, even for teams with limited DevOps experience.
Now, let’s dive into the details of how to configure a CI/CD pipeline in Jenkins.
Steps to Configure a CI/CD Pipeline in Jenkins
Step 1: Install Jenkins
Before configuring the CI/CD pipeline, you need to install Jenkins. Follow these steps to get Jenkins up and running:
-
Install Jenkins:
-
Visit the official Jenkins website to download Jenkins for your operating system.
-
Follow the installation instructions specific to your OS (Windows, macOS, or Linux).
-
-
Set Up Jenkins:
-
Once installed, navigate to
http://localhost:8080to open the Jenkins dashboard. -
You’ll need to unlock Jenkins by finding the initial administrator password in a specific file on your machine.
-
Install the recommended plugins during the setup process.
-
-
Create a Jenkins User:
-
For security, create a Jenkins user with limited permissions to configure and manage your pipelines.
-
Step 2: Create a New Pipeline Project
Now that Jenkins is set up, you need to create a new pipeline project. This project will contain the configuration for your CI/CD pipeline.
-
Create a New Job:
-
In the Jenkins dashboard, click on New Item.
-
Select Pipeline as the project type, and give your pipeline a name (e.g.,
my-app-pipeline).
-
-
Configure the Job:
-
On the configuration page for your new job, scroll down to the Pipeline section.
-
Choose Definition as Pipeline script from SCM to allow Jenkins to fetch your pipeline configuration from your version control system (e.g., Git).
-
In SCM, select Git and provide the repository URL (GitHub, GitLab, etc.) and credentials if needed.
-
-
Save and Commit Jenkinsfile:
-
Now, create a file named Jenkinsfile in the root of your repository. This file defines the pipeline stages and actions.
-
Add and commit the
Jenkinsfileto your Git repository.
-
Step 3: Define the Jenkinsfile for CI/CD Pipeline
The Jenkinsfile defines the sequence of steps in the CI/CD pipeline. It is written in Declarative Pipeline Syntax, which provides a clean and easy-to-read structure.
Here is an example Jenkinsfile for a Node.js application:
Explanation of the Jenkinsfile:
-
pipeline: This is the top-level block that contains the entire pipeline definition.
-
agent any: Tells Jenkins to use any available agent (machine or executor) to run the pipeline.
-
environment: Defines environment variables that are available throughout the pipeline.
-
stages: Contains individual stages for the pipeline, such as
Checkout,Install Dependencies,Test,Build, andDeploy. -
steps: Defines the commands that are executed in each stage (e.g.,
sh 'npm install'to run shell commands). -
post: Contains actions that are performed after the pipeline runs, like sending notifications or performing clean-up tasks.
Step 4: Configure Jenkins to Use the Pipeline
After committing the Jenkinsfile to your Git repository, Jenkins will automatically pull it and execute the pipeline when changes are pushed.
-
Configure Webhooks for Automated Builds:
-
In your Git repository (e.g., GitHub), configure a webhook to notify Jenkins whenever code is pushed.
-
In Jenkins, go to your pipeline configuration and under Build Triggers, select GitHub hook trigger for GITScm polling (or the appropriate trigger for your repository).
-
-
Save the Configuration:
-
After setting up the webhooks, save the Jenkins job configuration.
-
Step 5: Run the Jenkins Pipeline
-
Manual Trigger:
-
You can manually trigger the pipeline by clicking the Build Now button on the Jenkins job page.
-
-
Automatic Trigger:
-
Once the webhook is set up and your repository is connected, Jenkins will automatically trigger the pipeline whenever changes are pushed to the repository.
-
-
Monitor Pipeline Execution:
-
You can monitor the pipeline execution in real-time from the Jenkins dashboard.
-
Jenkins provides logs for each stage of the pipeline, allowing you to troubleshoot failures and improve the process.
-
Step 6: Set Up Notifications and Monitoring
-
Set Up Email Notifications:
-
You can configure Jenkins to send email notifications when the build succeeds or fails.
-
Under Post-build Actions, select E-mail Notification and configure the SMTP settings.
-
-
Set Up Slack Notifications:
-
You can also configure Slack notifications using Jenkins’ Slack Notification Plugin.
-
Under Post-build Actions, select Slack Notification and provide the necessary configuration to notify your team on Slack when the build passes or fails.
-
Step 7: Optimize the Pipeline
Once the pipeline is set up, you may want to optimize it for better performance and efficiency:
-
Parallel Stages: Jenkins allows parallel execution of stages. If you have independent tasks, you can run them in parallel to reduce pipeline execution time.
-
Caching: Cache dependencies to avoid downloading them every time the pipeline runs (e.g., using Docker or npm caching).
-
Incremental Builds: Implement incremental builds, where only the modified parts of the application are built rather than the entire codebase.
Conclusion
Configuring a CI/CD pipeline in Jenkins can help OpsNexa automate the software development lifecycle, ensuring faster delivery and higher quality of code. By setting up automated builds, tests, and deployments, you can reduce the chances of errors, increase developer productivity, and provide continuous feedback to your team.
With Jenkins’ flexibility and powerful integration options, you can tailor your CI/CD pipeline to meet your exact needs. From simple configurations to complex workflows, Jenkins gives you the tools to automate and scale your pipeline efficiently.
You can also Contact OpsNexa for Devops architect and devops hiring solutions.
