How to Do CI/CD with GitHub | OpsNexa’s Ultimate Guide for Developers
In the world of modern software development, Continuous Integration (CI) and Continuous Deployment (CD) have become essential for ensuring faster, more reliable releases. GitHub, one of the most popular platforms for version control, provides a native solution for automating CI/CD processes through GitHub Actions. At OpsNexa, we believe in streamlining DevOps practices and helping developers deploy code efficiently.
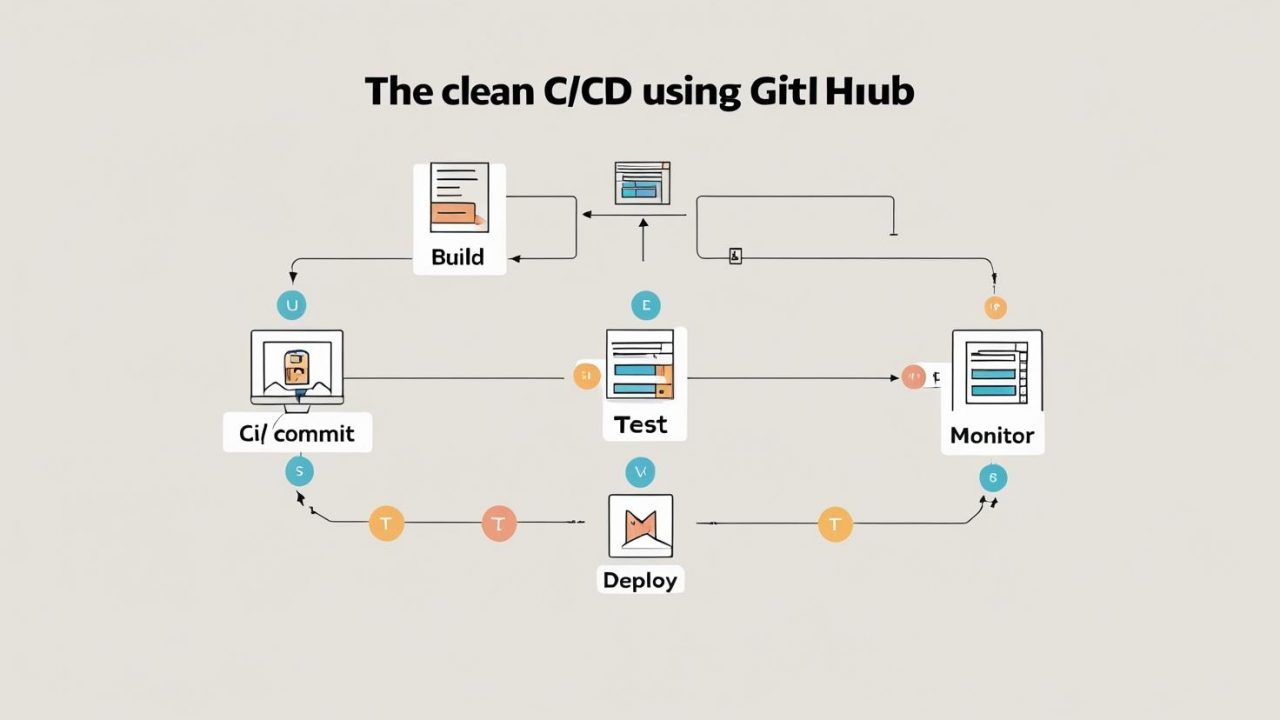
This guide will take you step-by-step through how to do CI/CD with GitHub, focusing on setting up GitHub Actions for automating code testing, building, and deploying. We’ll also discuss best practices for optimizing your CI/CD pipelines and highlight how OpsNexa can enhance your workflow with advanced governance and security features.
By the end of this guide, you’ll be equipped with the knowledge to implement an automated pipeline that accelerates your release cycles and minimizes manual intervention.
What is CI/CD and Why GitHub for Automation?
Continuous Integration (CI) and Continuous Delivery (CD) are practices designed to automate and streamline the software development lifecycle. Here’s how they work:
-
Continuous Integration (CI) involves automatically testing and integrating code changes into a shared repository as frequently as possible. The goal is to detect and fix bugs early.
-
Continuous Delivery (CD) goes a step further by automating the deployment process. After successful testing, code is automatically pushed to a staging or production environment.
Why should you use GitHub Actions for your CI/CD pipeline?
GitHub has integrated a powerful CI/CD tool—GitHub Actions—to automate your workflows directly within the platform. GitHub Actions allows you to automate tasks such as:
-
Code testing and validation
-
Building software artifacts
-
Deploying applications to different environments (e.g., AWS, Azure, Heroku)
For teams already using GitHub for version control, GitHub Actions simplifies the CI/CD process by providing a seamless integration within the same platform, reducing setup complexity and improving efficiency.
In this section, we’ll explore how GitHub Actions can help you automate your workflow while maintaining high code quality and fast release cycles.
Setting Up GitHub Actions for Your CI/CD Pipeline
GitHub Actions uses workflow files written in YAML syntax to define CI/CD processes. These workflow files live in your repository’s .github/workflows/ directory. Let’s break down the steps to set up a simple CI pipeline using GitHub Actions.
Step 1: Create a New Workflow File
Navigate to your repository and create a new file under .github/workflows/, for example, ci.yml. The file defines the workflow steps.
Step 2: Define Workflow Triggers
In your YAML file, you can define workflow triggers based on events like push, pull_request, or even on a scheduled basis.
Here’s an example of a simple trigger that runs the workflow when code is pushed to the main branch:
Step 3: Define Jobs and Steps
A job in GitHub Actions is a collection of steps that run sequentially. In the following example, the workflow will:
-
Checkout the repository code
-
Set up the programming language environment (Node.js)
-
Install dependencies
-
Run tests
This configuration runs the job on the latest version of Ubuntu, checks out the code from your repository, installs dependencies, and runs tests.
Step 4: Commit and Push the Workflow File
Once you’ve defined your workflow file, commit and push it to your GitHub repository. GitHub Actions will automatically recognize the new file and trigger the workflow based on the conditions you’ve set.
Automating Deployment with GitHub Actions
Once your CI pipeline is up and running, you can extend your workflow to automate Continuous Delivery (CD). This means pushing code changes to a staging or production environment automatically after passing tests.
Step 1: Set Up Deployment Targets
For deployment automation, you need to specify the target environment. Popular choices include:
-
AWS: Deploy to EC2 or Lambda
-
Heroku: Deploy applications to Heroku
-
Azure: Deploy to Azure Web Apps or Kubernetes
-
Google Cloud: Deploy to Google Cloud Functions or App Engine
For this example, let’s use Heroku.
Step 2: Add Heroku Deployment Steps
After the successful execution of your CI job (testing and building), you can add steps to deploy your application to Heroku.
Example Heroku Deployment:
In this example, after the build job is successful (needs: build), the Heroku Deployment action is triggered. You need to add the HEROKU_API_KEY as a secret in GitHub’s settings to ensure secure access to Heroku.
Step 3: Push Changes and Deploy
Once you push your changes and the workflow runs, GitHub Actions will automatically deploy your application to Heroku if all tests pass.
Best Practices for CI/CD with GitHub Actions
To maximize the efficiency and reliability of your CI/CD pipeline, consider the following best practices:
1. Use Secrets for Sensitive Data
Never hard-code sensitive information like API keys in your workflow files. Instead, use GitHub Secrets to securely store and retrieve them. For example, you can store API keys, deployment credentials, or other secrets in the repository settings.
2. Cache Dependencies
To speed up the build process, use caching for dependencies. GitHub Actions provides a built-in action for caching dependencies such as Node.js modules or Maven packages.
3. Use Matrix Builds for Cross-Platform Testing
You can run tests across multiple environments simultaneously using matrix builds. For example, you can test your Node.js app on different versions of Node.js.
4. Monitor Logs and Notifications
Monitoring your CI/CD pipeline is essential for debugging and ensuring smooth deployment. GitHub Actions provides detailed logs for each workflow run. Additionally, you can set up notifications via Slack, email, or other platforms.
How OpsNexa Enhances Your CI/CD Pipeline
While GitHub Actions simplifies CI/CD processes, integrating OpsNexa can enhance your workflow further with governance, security, and compliance features.
Key Benefits of OpsNexa with GitHub Actions:
-
Governance and Compliance: OpsNexa helps enforce deployment policies, ensuring that only compliant code is pushed to production. This is crucial for enterprises in regulated industries.
-
Role-Based Access Control (RBAC): With OpsNexa, you can define roles and permissions for team members, giving you granular control over who can deploy and manage workflows.
-
Environment Drift Detection: Ensure that your environments stay in sync with your repository, preventing issues caused by mismatched configurations between environments.
-
Audit Logs and Traceability: OpsNexa provides detailed audit trails, making it easier to track changes and deployments, ensuring compliance and transparency.
By incorporating OpsNexa into your GitHub CI/CD pipeline, you add an extra layer of governance, security, and visibility, which is essential for organizations looking to scale their DevOps processes effectively.
Conclusion
Implementing CI/CD with GitHub Actions is an effective way to automate your software delivery pipeline, ensuring faster deployments and higher-quality releases. By using OpsNexa alongside GitHub Actions, you can further streamline your DevOps workflow while adding enhanced governance and security features.
Whether you’re new to CI/CD or looking to optimize an existing pipeline, this guide has provided you with the essential knowledge to get started with GitHub Actions and make the most of automation. With the right practices and tools, you can achieve continuous integration, continuous deployment, and ultimately, a more efficient development lifecycle.
You can also Contact OpsNexa for Devops architect and devops hiring solutions.
