How to Implement a CI/CD Pipeline in Azure for Efficient DevOps at OpsNexa
For companies like OpsNexa, creating a streamlined development and deployment process is essential to ensure faster, more reliable releases. One of the best ways to achieve this is by implementing a CI/CD pipeline in Azure. Azure offers powerful tools like Azure DevOps, Azure Pipelines, and Azure Repos to automate the entire software delivery lifecycle, from building to testing and deploying applications.
This blog will guide you through the process of implementing a CI/CD pipeline in Azure, helping you improve collaboration among teams, reduce manual errors, and accelerate the development cycle at OpsNexa.
What is a CI/CD Pipeline?
Before diving into the steps, it’s important to understand what a CI/CD pipeline is and why it’s important.
-
Continuous Integration (CI): Continuous integration focuses on automating the process of integrating code changes into a shared repository multiple times a day. It helps to detect integration issues early and ensures that new code doesn’t break the existing functionality.
-
Continuous Deployment (CD): Continuous deployment automates the process of deploying code to production once it passes tests and meets predefined criteria. This ensures that new features or fixes are delivered to users quickly and reliably.
By implementing a CI/CD pipeline, organizations like OpsNexa can automate manual tasks, ensure higher code quality, and minimize the risk of errors during deployment.
Why Implement a CI/CD Pipeline in Azure?
Azure provides a robust and flexible cloud platform with tools that are tailor-made for setting up CI/CD pipelines. Here are some reasons why Azure is a great choice for your DevOps pipeline:
-
Comprehensive DevOps Tools: Azure offers a set of integrated tools under Azure DevOps, including Azure Pipelines, Azure Repos, and Azure Artifacts, making it easy to manage code, automate builds, and deploy applications.
-
Cloud-Native Integration: Azure seamlessly integrates with other Microsoft services and cloud-native tools like Azure Kubernetes Service (AKS), Azure Functions, Azure App Services, and Azure Virtual Machines for deployment.
-
Scalability and Flexibility: Azure offers both fully managed services and infrastructure-as-a-service (IaaS) options, allowing OpsNexa to scale the pipeline as needed.
-
Security and Compliance: With Azure’s built-in security features like Azure Active Directory and Azure Key Vault, OpsNexa can manage access control and securely store secrets used in the CI/CD pipeline.
Key Components of a CI/CD Pipeline in Azure
To implement a CI/CD pipeline in Azure, you’ll need several core components that will work together to automate the delivery process. The following tools and services are vital:
-
Azure Repos: A source control management system that integrates with Git to store and manage code. It is essential to keep track of versioned code and enable collaboration.
-
Azure Pipelines: Azure Pipelines automates the process of building, testing, and deploying code to different environments. It supports both YAML and classic editor workflows for defining build and release pipelines.
-
Azure Artifacts: A tool that helps manage dependencies and package feeds, making it easier to store and retrieve artifacts and libraries across projects.
-
Azure Kubernetes Service (AKS) and Azure App Services: For deployment, Azure offers managed services like AKS (for containerized apps) and Azure App Services (for web applications).
-
Azure Monitor and Azure Log Analytics: For continuous monitoring of the CI/CD pipeline, use Azure’s monitoring tools to track performance, availability, and the health of your pipeline.
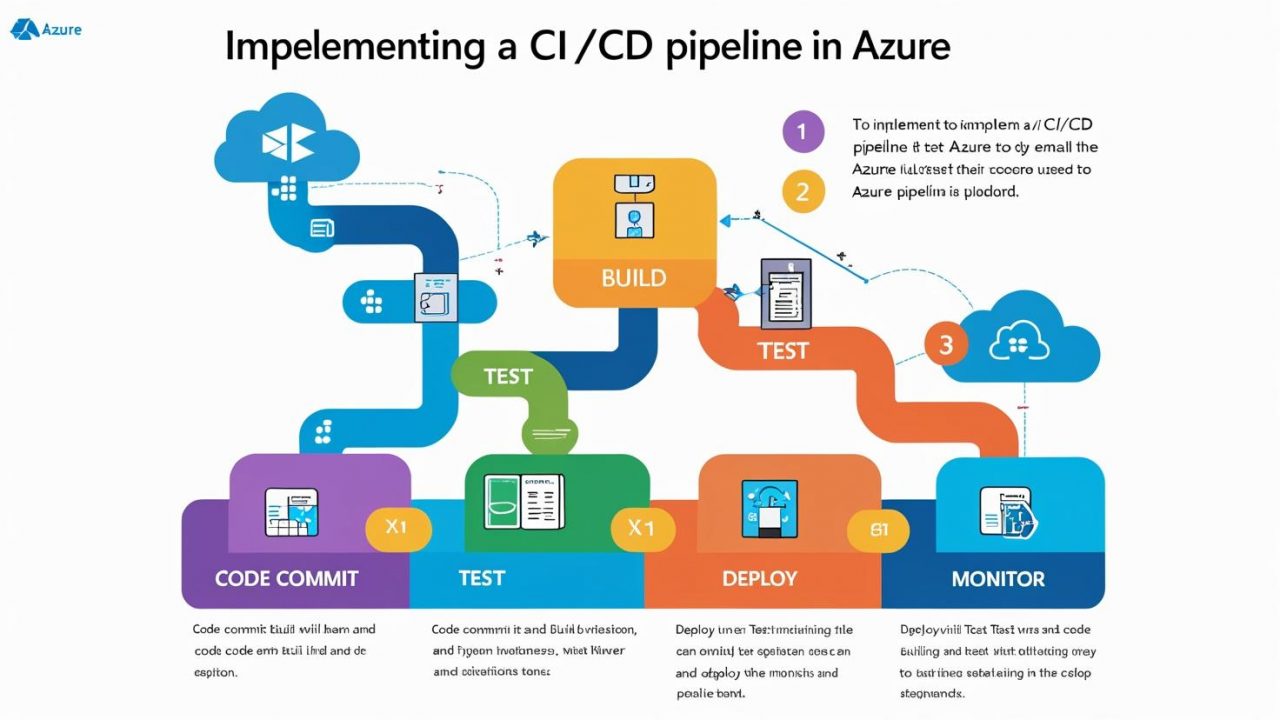
Step-by-Step Guide to Implement a CI/CD Pipeline in Azure for OpsNexa
Implementing a CI/CD pipeline in Azure involves several key steps, including setting up repositories, configuring Azure Pipelines, automating build and testing, and deploying to production. Here’s a step-by-step guide to help you get started.
Step 1: Set Up a Git Repository in Azure Repos
The first step is to set up a source control repository for your code. You can use Azure Repos, which offers Git repositories for managing your code.
-
Create an Azure DevOps Organization: If you don’t already have an Azure DevOps organization, create one through the Azure DevOps portal.
-
Create a Repository: After creating the organization, set up a new repository under Azure Repos.
-
Clone the Repository: Clone the repository to your local machine and start committing your code.
-
Push Code to Azure Repos: Ensure that all developers use the Azure Repos Git system for version control.
Step 2: Create a Build Pipeline with Azure Pipelines
Azure Pipelines is the service that will automate the build and test processes whenever new code is committed to your repository.
-
Create a New Pipeline:
-
Navigate to Azure DevOps > Pipelines and create a new pipeline.
-
Select the repository in Azure Repos that you want to use for this pipeline.
-
-
Define Build Pipeline:
-
Use YAML or the classic editor to define the build pipeline.
-
Define the steps to compile your application, run unit tests, and create an artifact for deployment.
-
Example YAML file for a .NET application build pipeline:
-
Configure Triggers:
-
Set triggers to automatically run this build pipeline when changes are pushed to the repository (e.g., on pushes to the
mainbranch).
-
Step 3: Automate Testing with Azure Pipelines
Integrating automated testing into the CI/CD pipeline ensures that code changes don’t introduce bugs or break existing functionality.
-
Add Test Tasks:
-
In the build pipeline, add steps to run unit tests using your preferred testing framework (e.g., NUnit, xUnit, or MSTest).
-
This can be done in the pipeline YAML file using the
Testtask.
-
-
Run Static Code Analysis:
-
Use tools like SonarQube to analyze your code for security vulnerabilities, code smells, and performance issues.
-
Azure DevOps has integration with SonarCloud for this purpose.
-
Step 4: Create a Release Pipeline for Deployment
Once the code is built and tested, it’s time to automate the deployment process to various environments (e.g., development, staging, production).
-
Create a Release Pipeline:
-
Go to Azure Pipelines > Releases and create a new release pipeline.
-
Define stages for each environment (e.g., Dev, Staging, Prod).
-
-
Deploy to Azure App Services:
-
In each environment, use the Azure App Service Deployment task to deploy your application to Azure App Services.
Example deployment task for Azure App Service:
-
-
Deploy to Azure Kubernetes Service (AKS):
-
If you’re working with containers, use Azure Kubernetes Service (AKS) to deploy your containerized application.
Example AKS deployment task:
-
Step 5: Monitor and Optimize the Pipeline
Once your CI/CD pipeline is up and running, it’s important to monitor its performance and optimize it for efficiency.
-
Use Azure Monitor: Azure Monitor allows you to track pipeline performance, monitor for failures, and gain insights into deployment metrics.
-
Set Up Alerts and Notifications: Use Azure’s notification systems to alert team members of build failures, deployment issues, or other errors.
-
Optimize Pipeline Performance:
-
Cache dependencies to speed up builds.
-
Run tests in parallel to reduce overall build time.
-
Clean up old artifacts and logs to maintain pipeline efficiency.
-
Best Practices for CI/CD in Azure
-
Keep Your Pipeline Modular: Break down your pipeline into smaller stages to make it easier to manage and troubleshoot.
-
Use Azure Key Vault for Secrets: Store sensitive information, such as API keys and passwords, in Azure Key Vault and reference them securely in the pipeline.
-
Implement Feature Toggles: Use feature flags or toggles to control which features are deployed to production, allowing you to deploy frequently while maintaining control over feature releases.
-
Ensure Proper Access Control: Use Azure Active Directory to enforce proper access control for your team members, ensuring only authorized users can modify the pipeline or deploy to production.
Conclusion: Accelerate Software Delivery with Azure CI/CD at OpsNexa
Implementing a CI/CD pipeline in Azure offers OpsNexa an efficient way to automate the software delivery process, reduce manual interventions, and ensure consistent quality in code and deployments. With tools like Azure DevOps, Azure Pipelines, and Azure App Services, you can build, test, and deploy applications seamlessly to a variety of Azure environments.
By following the steps outlined above and implementing best practices, OpsNexa can ensure that its development workflow is fast, efficient, and secure, ultimately enabling quicker delivery of high-quality software to users. Start building your CI/CD pipeline in Azure today and experience the benefits of a streamlined, automated DevOps process!
You can also Contact OpsNexa for Devops architect and devops hiring solutions.
