How to Implement a CI/CD Pipeline Using Jenkins for Efficient DevOps at OpsNexa
In today’s competitive software development landscape, the ability to deliver new features, bug fixes, and updates quickly is essential. Implementing a Continuous Integration (CI) and Continuous Deployment (CD) pipeline is a key practice for ensuring the efficiency and reliability of your software delivery process. For OpsNexa, Jenkins can be an excellent tool for automating builds, tests, and deployments, enabling faster and more frequent software releases.
In this blog, we will guide you through the steps of implementing a CI/CD pipeline using Jenkins, explaining how to automate software integration, testing, and deployment. By the end of this guide, you will understand how to set up Jenkins for OpsNexa and improve collaboration across development, QA, and operations teams.
What is Jenkins?
Jenkins is an open-source automation server widely used to automate various aspects of software development, such as building, testing, and deploying applications. Jenkins is a popular choice for setting up CI/CD pipelines due to its flexibility, ease of integration, and large ecosystem of plugins that support a wide variety of tools and technologies.
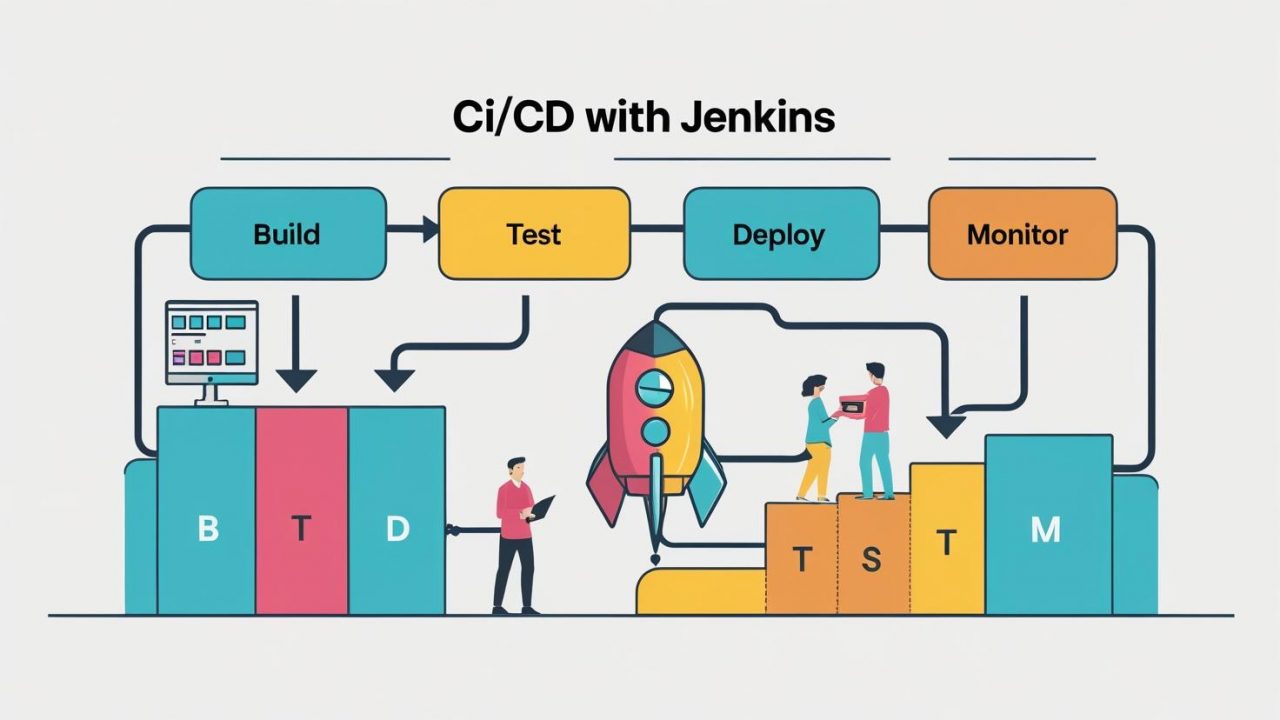
In a CI/CD pipeline, Jenkins can automate the entire process, from integrating code into a shared repository to running tests and deploying code to production. This automation ensures that new code changes are continuously integrated and validated, helping reduce errors and manual intervention.
Why Implement a CI/CD Pipeline Using Jenkins?
Jenkins offers several key advantages when used as the backbone of a CI/CD pipeline:
-
Automation at Scale: Jenkins automates the repetitive tasks in the software delivery process, reducing manual work and enabling faster releases.
-
Flexibility and Extensibility: Jenkins supports a wide range of plugins, which makes it adaptable to various tools, platforms, and programming languages.
-
Integration with Version Control Systems: Jenkins can easily integrate with popular version control systems like Git, enabling automatic builds and tests whenever code changes are committed.
-
Easy Setup: Jenkins can be installed on various platforms, including Windows, Linux, and macOS. It also has a web-based UI that makes it easy to configure and manage pipelines.
-
Open Source and Free: Jenkins is open-source and free, making it an accessible option for businesses like OpsNexa.
Key Components of a Jenkins CI/CD Pipeline
To implement a CI/CD pipeline using Jenkins, you need to understand the core components of the Jenkins ecosystem:
-
Jenkins Master: The central controller that manages the overall Jenkins environment, responsible for scheduling jobs, dispatching build tasks to agents, and monitoring the execution of jobs.
-
Jenkins Agents: Machines that run Jenkins jobs. These agents can be physical or virtual machines and can be configured to scale the pipeline’s capacity.
-
Jenkins Jobs: A Jenkins job is a single task or step within the CI/CD pipeline, such as compiling code, running tests, or deploying applications.
-
Jenkins Pipelines: A Jenkins Pipeline is a collection of automated processes that are defined as a set of steps (build, test, deploy). Pipelines can be defined using Jenkinsfile, a text file that contains the pipeline definition in a scripted or declarative format.
Step-by-Step Guide to Implement a CI/CD Pipeline Using Jenkins for OpsNexa
Setting up a CI/CD pipeline using Jenkins involves several stages, from installation to configuring the pipeline and automating the build and deployment process. Here’s a step-by-step guide to implementing Jenkins at OpsNexa.
Step 1: Install Jenkins on a Server
Before you can start creating pipelines, you need to install Jenkins. You can install Jenkins on a local machine, a virtual machine, or a cloud server, depending on your infrastructure.
-
Install Jenkins on Linux (Ubuntu):
-
Access Jenkins Web Interface:
-
After installing Jenkins, you can access it via your web browser at
http://<your-server-ip>:8080. -
Follow the instructions on the setup page to unlock Jenkins using the generated password.
-
Step 2: Install Necessary Plugins in Jenkins
Jenkins has a rich ecosystem of plugins that extend its functionality. For implementing CI/CD pipelines, you need to install certain plugins:
-
Git Plugin: Integrates Jenkins with Git repositories, enabling Jenkins to pull code from version control systems.
-
Pipeline Plugin: Allows you to define CI/CD pipelines in Jenkins using Jenkinsfile.
-
JUnit Plugin: Enables integration with testing frameworks like JUnit.
-
SSH Plugin (for deployment): If you’re deploying to remote servers, this plugin helps to run SSH commands.
To install plugins:
-
Navigate to Manage Jenkins > Manage Plugins.
-
In the Available tab, search for the necessary plugins and install them.
Step 3: Create a New Jenkins Pipeline Job
Now that Jenkins is set up and the necessary plugins are installed, you can create a Jenkins pipeline job for your project.
-
Go to Jenkins Dashboard and click on New Item.
-
Choose Pipeline and give it a name, such as “OpsNexa-DevOps-Pipeline”.
-
In the pipeline configuration page, under Pipeline Definition, select Pipeline script from SCM (if using a version control system like Git).
-
Under SCM, select Git and provide the repository URL.
-
Define the Jenkinsfile path where the pipeline script is located. This file will define the build, test, and deploy steps.
Step 4: Define the Jenkins Pipeline (Jenkinsfile)
A Jenkinsfile defines the stages of your CI/CD pipeline. You can write it in Declarative Pipeline or Scripted Pipeline format. Below is an example of a simple Jenkinsfile using the Declarative Pipeline syntax for an OpsNexa Node.js project:
In this pipeline:
-
Checkout: Pulls the latest code from the version control system (e.g., Git).
-
Install Dependencies: Runs
npm installto install Node.js dependencies. -
Run Tests: Runs tests using
npm test. -
Build: Runs a build command (e.g.,
npm run build). -
Deploy: Deploys the build files to a remote server using SCP (secure copy).
You can extend this pipeline by adding more stages like code analysis, packaging, or notifications.
Step 5: Trigger the Pipeline Automatically
Set up Jenkins to automatically trigger the pipeline whenever new code is committed to the repository:
-
In your Jenkins job configuration, scroll to the Build Triggers section.
-
Select GitHub hook trigger for GITScm polling (or use other trigger mechanisms, such as a time-based trigger or polling the repository).
Step 6: Monitor the Pipeline and Improve
Once the pipeline is up and running, monitor its performance, identify bottlenecks, and optimize the process. You can also set up notifications for build failures or successes using Slack, Email, or Jenkins’ built-in notification systems.
Best Practices for CI/CD with Jenkins
-
Keep Pipelines Modular: Break down your Jenkinsfile into reusable functions or separate files to keep the pipeline clean and maintainable.
-
Use Parameterized Builds: If you need different configurations (e.g., staging, production), use parameters to control the behavior of the pipeline.
-
Leverage Shared Libraries: For larger projects, use Jenkins Shared Libraries to store common pipeline code that can be reused across multiple jobs.
-
Parallel Testing: Speed up the pipeline by running tests in parallel, especially if you have a large test suite.
-
Security: Always use secure credentials and avoid hardcoding sensitive data in the Jenkinsfile. Use Jenkins Credentials Plugin to manage secrets securely.
Conclusion: Achieving DevOps Success with Jenkins at OpsNexa
Implementing a CI/CD pipeline using Jenkins at OpsNexa is a powerful way to streamline your software development and deployment process. By automating code integration, testing, and deployment, Jenkins enables faster releases, better collaboration, and a higher-quality product.
By following this guide, you can create a robust CI/CD pipeline that ensures your software is continuously integrated and deployed, with minimal manual intervention. Start implementing Jenkins today and experience the benefits of a more efficient, scalable, and reliable DevOps workflow at OpsNexa.
You can also Contact OpsNexa for Devops architect and devops hiring solutions.
