How to Build a CI/CD Pipeline in GitHub with OpsNexa
In today’s fast-paced software development world, automating the integration, testing, and deployment processes is crucial. A CI/CD pipeline allows developers to push changes to code frequently while ensuring that code quality is maintained throughout the process. One of the most popular platforms for version control and collaboration is GitHub, and when combined with tools like OpsNexa, building a CI/CD pipeline becomes both efficient and scalable.
In this blog, we’ll walk you through the process of setting up a CI/CD pipeline in GitHub using OpsNexa. This guide will ensure that your development cycle is smooth, automated, and effective.
What is a CI/CD Pipeline?
A CI/CD pipeline is an automated workflow that allows developers to integrate code into a shared repository (Continuous Integration), test it automatically, and deploy it to production (Continuous Deployment). This process enables faster, more frequent releases and ensures high-quality code is deployed to production with minimal risk.
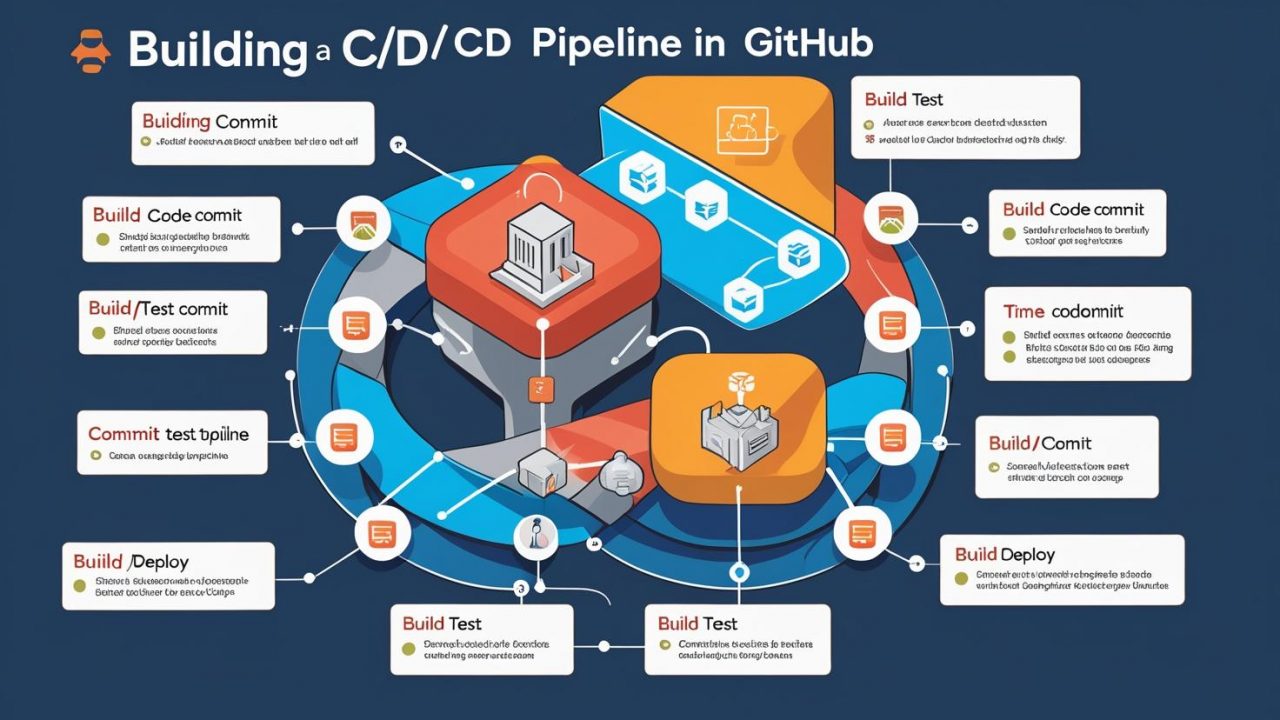
A typical CI/CD pipeline involves the following stages:
-
Code Commit – Developers push code changes to a repository (e.g., GitHub).
-
Build – The pipeline automatically builds the application from the code.
-
Test – Automated tests ensure the code works as expected.
-
Deploy – If tests pass, the code is deployed to a production environment.
Using OpsNexa, you can integrate various tools into this pipeline to streamline and optimize each step, making the process more efficient and reducing the chance of errors.
Why Use GitHub for CI/CD?
GitHub is one of the most popular platforms for version control, collaboration, and code hosting. When it comes to CI/CD, GitHub provides several key benefits:
-
Easy Integration: GitHub integrates easily with a wide range of CI/CD tools.
-
Large Community Support: GitHub’s massive developer community provides ample resources and tools to streamline the CI/CD process.
-
Action Automation: GitHub Actions is an integrated feature that helps automate workflows directly within GitHub.
OpsNexa, in combination with GitHub, can supercharge your CI/CD pipeline by automating tasks like building, testing, and deploying code with minimal manual intervention.
Setting Up a CI/CD Pipeline in GitHub with OpsNexa
Now that we understand what a CI/CD pipeline is and the benefits of using GitHub, let’s dive into the step-by-step process of building a CI/CD pipeline with OpsNexa and GitHub.
Step 1: Setting Up GitHub Repository
Before building a CI/CD pipeline, you need a GitHub repository to store your code. Here’s how to get started:
-
Create a GitHub Repository: If you haven’t already, create a new repository on GitHub. Go to GitHub and click on the “New” button to create a repository. Give it a meaningful name and choose whether it will be public or private.
-
Clone the Repository Locally: Once your repository is set up, clone it to your local machine to start adding files and making changes.
-
Push Your Code: Add your code files to the repository, then commit and push them to GitHub.
Step 2: Integrating GitHub Actions for CI/CD
GitHub Actions is a powerful tool within GitHub that enables CI/CD automation directly in your repository. It allows you to define workflows that can be triggered on specific events like code commits, pull requests, and more.
To integrate GitHub Actions:
-
Create Workflow File: In your GitHub repository, create a
.github/workflowsdirectory. Inside this folder, create a YAML file to define your CI/CD workflow. For example: -
Define Your CI/CD Workflow: In the
ci-cd-pipeline.ymlfile, define the steps to build, test, and deploy your application. Here’s an example of a basic CI pipeline for a Node.js application: -
Push the Workflow: Once the workflow file is created, commit and push it to your GitHub repository.
This basic pipeline runs every time there’s a push to the main branch, checks out the code, installs dependencies, and runs tests.
Step 3: Integrating OpsNexa for Deployment Automation
While GitHub Actions handles integration and testing, OpsNexa simplifies deployment and monitoring, ensuring a smooth transition from development to production.
Here’s how to integrate OpsNexa into your GitHub CI/CD pipeline:
-
Connect GitHub to OpsNexa: First, sign in to OpsNexa and connect your GitHub account. OpsNexa supports GitHub integration, allowing you to pull code directly from your repositories into the platform.
-
Configure OpsNexa for Deployment: Create a deployment pipeline in OpsNexa that connects to your GitHub repository. Configure the deployment settings to specify where and how you want to deploy your application (e.g., AWS, Google Cloud, or on-premise servers).
-
Set Up Deployment Triggers: Configure the deployment to trigger automatically after the CI pipeline runs successfully in GitHub Actions. This ensures that your code is deployed only when tests pass.
-
Monitor and Scale with OpsNexa: OpsNexa provides powerful tools for monitoring your applications in real time, tracking performance, and scaling your infrastructure as needed. You can set up alerts and automated scaling to ensure your application performs well under varying loads.
Step 4: Testing the Pipeline
Once you’ve configured both GitHub Actions and OpsNexa, test your pipeline to ensure it works correctly:
-
Commit Changes: Make a change in your code and push it to the
mainbranch in your GitHub repository. -
Monitor the Workflow: Go to the “Actions” tab in your GitHub repository and monitor the CI workflow. If everything is set up correctly, you should see the workflow running automatically.
-
Check Deployment Status: If the CI pipeline passes successfully, OpsNexa will trigger the deployment. You can monitor the deployment status within OpsNexa and ensure everything is running smoothly.
Step 5: Continuous Improvement
Once your CI/CD pipeline is up and running, continuously improve it by adding:
-
Automated Tests: Integrate more test stages into the pipeline to ensure that your code is thoroughly tested before deployment.
-
Multiple Environments: Configure different pipelines for staging and production environments to ensure code is deployed correctly in different settings.
-
Security Scanning: Integrate security tools into your pipeline to automatically scan your code for vulnerabilities before deployment.
OpsNexa makes it easy to add these improvements by providing robust support for security scanning, monitoring, and environment management.
Conclusion
Building a CI/CD pipeline in GitHub using OpsNexa is a straightforward process that automates the entire software delivery lifecycle. By using GitHub Actions for continuous integration and OpsNexa for deployment automation, you can streamline your development workflows, reduce errors, and deliver high-quality software faster.
Adopting this approach allows teams to focus on writing code while the automation takes care of integration, testing, and deployment, ultimately improving productivity and ensuring a seamless user experience. With OpsNexa, your CI/CD process will be more efficient and scalable, providing a solid foundation for rapid software development.
