How to Check Kubernetes Version: A Step-by-Step Guide for OpsNexa
As businesses like OpsNexa embrace Kubernetes for container orchestration, staying up to date with your Kubernetes version is essential for maintaining compatibility, performance, and security. Whether you’re troubleshooting issues, deploying new features, or ensuring your environment is running the latest stable version, knowing how to check your Kubernetes version is a crucial task for your team.
In this guide, we will walk you through the different methods to check your Kubernetes version, including command-line tools and the Kubernetes dashboard, ensuring that OpsNexa’s team can quickly verify their clusters are running the right versions.
Why Should You Check Your Kubernetes Version?
Before jumping into the “how-to” part, let’s take a moment to understand why checking your Kubernetes version is important:
-
Compatibility: New features and tools may require a specific Kubernetes version to work properly. If your version is outdated, you might face issues when integrating new technologies or upgrades.
-
Security: Kubernetes updates often contain security patches and bug fixes. Running an outdated version may leave your cluster vulnerable to known exploits and performance issues.
-
Troubleshooting: Knowing the Kubernetes version helps when you’re diagnosing issues, as certain bugs or behaviors may only appear in specific versions.
-
Feature Availability: Kubernetes is continuously evolving, and each new release introduces new features and improvements. If you’re looking to leverage the latest Kubernetes capabilities, you need to ensure you’re running a recent version.
How to Check the Kubernetes Version
There are several methods for checking your Kubernetes version, depending on your environment and preferences. Below are the most common approaches for OpsNexa teams to check Kubernetes versions in both local and cloud-based clusters.
1. Using kubectl Command-Line Tool
The most common and widely used way to check the Kubernetes version is through the kubectl command-line interface (CLI). The kubectl version command returns detailed information about your Kubernetes client and server versions.
Here’s how to do it:
Step-by-Step Instructions:
-
Open your terminal.
-
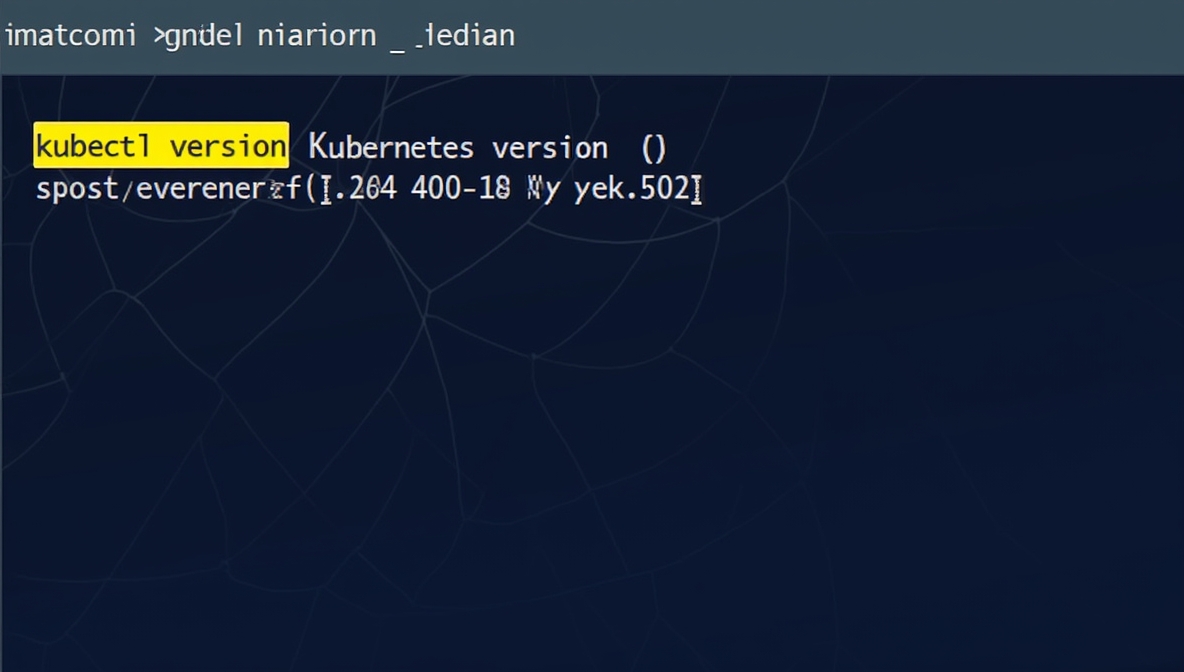
Type the following command:
This will output a simplified version of the client and server details:
-
Client Version: This is the version of kubectl installed on your local machine.
-
Server Version: This is the version of the Kubernetes cluster that you are connected to.
-
-
To get more detailed information, you can omit the
--shortflag:This will display detailed version information, including the Git commit, build date, and the Kubernetes server’s API version.
2. Using the Kubernetes Dashboard
If you prefer a graphical interface for checking your Kubernetes version, the Kubernetes Dashboard offers a user-friendly way to do so.
Step-by-Step Instructions:
-
Open the Kubernetes Dashboard. You can usually access it by running:
This will start a proxy on your local machine, typically accessible at
http://localhost:8001. -
Open your web browser and navigate to the URL provided by the
kubectl proxycommand (e.g.,http://localhost:8001/ui). -
Once you’re in the dashboard, look for the Cluster Info or About section (it might vary based on your version of the Dashboard). There, you’ll see the version information for your Kubernetes cluster.
3. Checking Kubernetes Version in Cloud Providers
If you’re using cloud-based Kubernetes services like Amazon EKS, Google GKE, or Azure AKS, the version information can also be found in the respective cloud console.
AWS EKS:
-
Navigate to the Amazon EKS Console.
-
Select the desired cluster.
-
Under the Cluster Configuration section, you’ll find the Kubernetes version listed.
Google GKE:
-
Go to the Google Cloud Console.
-
In the Kubernetes Engine section, click on Clusters.
-
Select your cluster, and you’ll find the Kubernetes version in the cluster details.
Azure AKS:
-
Open the Azure Portal.
-
Go to the Kubernetes services section.
-
Select your AKS cluster, and you’ll see the Kubernetes version under the Cluster Overview tab.
4. Using Helm (for Helm Users)
If you’re using Helm for package management in Kubernetes, you can also check the Kubernetes version through Helm. This might be useful if you’re troubleshooting Helm charts or package deployments.
Step-by-Step Instructions:
-
Open your terminal and ensure that Helm is installed.
-
Run the following command:
This will show the version of Helm as well as the Kubernetes server version.
Additional Tips for Managing Kubernetes Versions
Once you’ve checked the Kubernetes version, it’s essential to stay on top of version updates. Here are some tips to help OpsNexa manage Kubernetes versions effectively:
-
Regular Updates: Keep your Kubernetes clusters up to date with the latest stable releases to benefit from security patches, new features, and bug fixes.
-
Version Compatibility: When upgrading Kubernetes, ensure that all connected tools (such as kubectl, Helm, and any CI/CD pipelines) are also compatible with the new version.
-
Changelog and Release Notes: Always check the Kubernetes changelog and release notes for any breaking changes or new features before upgrading to a new version.
-
Upgrade Strategy: If you manage a production environment, plan your Kubernetes upgrades carefully. Consider using strategies like rolling upgrades to minimize downtime.
Conclusion
Knowing how to check your Kubernetes version is an essential skill for teams at OpsNexa who are managing and maintaining Kubernetes clusters. Whether you prefer using kubectl, the Kubernetes Dashboard, or your cloud provider’s console, you have several tools at your disposal to keep track of your version.
By regularly checking your version, you ensure that your cluster stays compatible with the latest features, security patches, and tools, minimizing potential risks and maximizing the efficiency of your cloud-native infrastructure. Stay up to date, and your Kubernetes environment will continue to run smoothly and securely.
