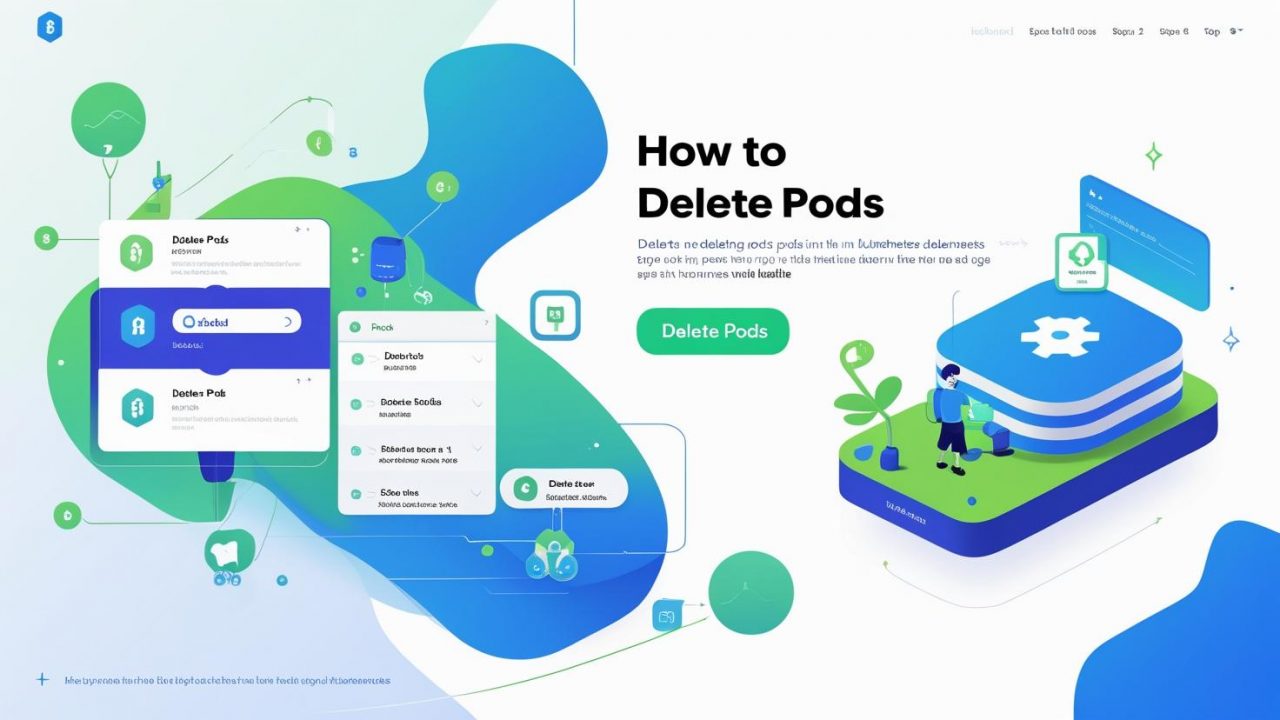
How to Delete Pods in Kubernetes: A Step-by-Step Guide for OpsNexa
In the world of Kubernetes, managing pods—the smallest deployable units in a Kubernetes cluster—is essential for maintaining a healthy and efficient containerized environment. There are times when you may need to delete or remove pods, whether it’s to troubleshoot issues, release resources, or update an application. However, understanding how to safely delete a pod is crucial to avoid impacting the rest of your services.
In this guide, we’ll walk you through the process of deleting pods in Kubernetes and explore best practices for managing them. Whether you’re using Kubernetes for a small project or running it at scale like OpsNexa, these instructions will help ensure you can manage your containers safely and effectively.
What are Pods in Kubernetes?
Before diving into the process of deleting pods, let’s quickly review what pods are in Kubernetes.
A pod is the smallest and simplest Kubernetes object. It is a logical host for one or more containers in a Kubernetes cluster. Each pod contains one or more containers, which share the same network namespace, storage volumes, and other resources. Pods are often used to manage containerized applications, and they are essential for workloads in Kubernetes.
When you create a deployment in Kubernetes, it automatically manages the creation and deletion of pods based on the deployment’s state. However, there are situations when you may want to manually delete a pod to resolve issues or update configurations.
Why Delete Pods in Kubernetes?
There are several reasons why you might need to delete a pod in Kubernetes:
-
Resource Management: Sometimes, pods are consuming too many resources (CPU, memory), and you need to delete them to free up space.
-
Application Update: When you make changes to the application code or configuration, you may need to delete old pods to apply the new updates.
-
Troubleshooting: If a pod is in a stuck or unresponsive state (such as
CrashLoopBackOfforErrImagePull), deleting the pod and letting Kubernetes create a new one can help resolve the issue. -
Scaling Down: If you are scaling down your application, you may need to delete extra pods that are no longer necessary.
-
Clearing Stale or Unused Pods: Sometimes, old or orphaned pods remain in your cluster and need to be cleaned up.
Step-by-Step: How to Delete Pods in Kubernetes
There are several ways to delete a pod in Kubernetes. Below, we’ll cover the most common methods for deleting pods via the kubectl command-line tool.
1. Delete a Specific Pod
If you want to delete a specific pod, use the kubectl delete pod command, followed by the name of the pod you wish to delete. You must ensure you’re targeting the correct namespace if your pod resides in a namespace other than the default.
Example:
For instance, if you want to delete a pod named my-app-pod:
If the pod is in a different namespace, use the -n flag to specify the namespace:
This will remove the pod from your cluster. Kubernetes will automatically attempt to reschedule the pod if it’s part of a deployment or replica set, ensuring that your application stays available.
2. Delete Pods by Label
If you want to delete multiple pods based on their labels, you can use the kubectl delete pod command with the -l flag to target pods that match a specific label selector.
Example:
This command will delete all pods that have the label app=my-app.
Similarly, if you have multiple labels, you can use the following command to delete pods that match multiple label selectors:
3. Delete All Pods in a Namespace
If you want to delete all the pods within a specific namespace, you can use the following command:
This command will delete every pod in the my-namespace namespace.
Be cautious when using this command, as it will delete all pods, including system pods, which may disrupt your application or Kubernetes cluster operations.
4. Delete Pods with Force
Sometimes, you may need to forcefully delete a pod if it’s in a stuck state and is not terminating properly. You can use the --grace-period=0 flag with the kubectl delete pod command to immediately terminate the pod, without waiting for it to gracefully shut down.
Example:
This will terminate the pod instantly and force Kubernetes to remove it from the cluster. Be mindful when using this method, as it may leave resources in an inconsistent state.
5. Delete Pods Using a Deployment or ReplicaSet
If you are managing pods with a Deployment or ReplicaSet, deleting a pod manually is not the best approach since Kubernetes will automatically recreate the pod based on the deployment’s desired state.
To delete a pod that is part of a deployment, you can simply scale the deployment down and up again, which will delete the existing pods and create new ones:
This is a more controlled approach, as it ensures that the pods are replaced in a way that respects the desired state of your application.
Alternatively, you can delete the deployment itself, which will delete all the pods managed by that deployment:
What Happens When You Delete a Pod in Kubernetes?
When you delete a pod in Kubernetes, Kubernetes automatically attempts to maintain the desired state of the application by recreating the pod (if it’s managed by a Deployment, ReplicaSet, or StatefulSet). If the pod is not controlled by any higher-level object, Kubernetes will remove the pod from the cluster without creating a new one.
-
For Deployments: The deployment will create a new pod to replace the one that was deleted, maintaining the desired number of replicas.
-
For ReplicaSets: A new pod will be created to replace the deleted pod.
-
For StatefulSets: Kubernetes will recreate the deleted pod while preserving its identity, which is important for stateful applications.
-
For Unmanaged Pods: If the pod is not controlled by any higher-level resource, it will simply be removed without replacement.
If the pod is part of a DaemonSet, deleting the pod will trigger a new pod to be scheduled on the same node or a different one, ensuring that the daemon continues to run across your nodes.
Best Practices for Deleting Pods in Kubernetes
While deleting pods is a common task in Kubernetes, it’s essential to follow best practices to ensure that the deletion process doesn’t negatively impact your application or cluster.
1. Avoid Deleting Critical Pods
Make sure that you are not deleting critical system pods (such as the ones in the kube-system namespace) unless absolutely necessary. Deleting these could impact your cluster’s control plane or networking functionality.
2. Use Deployments or ReplicaSets
If you’re running an application, it’s a good idea to manage your pods through Deployments or ReplicaSets. This way, you can delete individual pods for troubleshooting or updates, and Kubernetes will automatically replace them, ensuring that your application remains available.
3. Check Pod Health Before Deleting
Before deleting a pod, check its status. Use the following command to get more information about the pod’s state:
This can help you determine whether the pod is in an unhealthy state (e.g., CrashLoopBackOff) or if it’s working fine.
4. Consider Graceful Deletion
Kubernetes allows for graceful termination of pods. The default termination grace period is 30 seconds, allowing applications to clean up resources before they are terminated. Always let Kubernetes manage pod deletion gracefully unless you need to force a deletion.
Conclusion
Deleting pods in Kubernetes is a routine task, but understanding the context and impact of pod deletion is essential for ensuring a stable and healthy cluster. Whether you’re deleting pods for maintenance, troubleshooting, or scaling purposes, following the right steps and best practices will help you manage your Kubernetes clusters effectively.
For businesses like OpsNexa, managing Kubernetes pods correctly is crucial for maintaining consistent application performance, resource optimization, and troubleshooting. By leveraging the right commands and strategies, you can keep your Kubernetes clusters running smoothly while minimizing potential disruptions to your applications.
You can also Contact OpsNexa for Devops architect and devops hiring solutions.
